You have no items in your cart. Want to get some nice things?
Go shopping
The ever popular gallery wall, a collection of multiple frames and artworks displayed on a wall, finds its origins in 17th Century French salons, where art was hung from floor to ceiling.
When salons opened to the public, they played an important role in making art more accessible to the masses. Eventually, we began to mimic these large scale art displays in our homes. They’ve taken on many incarnations, from gallery walls dedicated only to family photographs to walls of eclectic mismatched frames and even plates.
A home for slow living is a carefully curated collection of spaces where you can be authentically you and find calm and connection. A gallery wall is a great opportunity to express what’s meaningful to you, regardless of your artistic style. While there are plenty of kits out there with pre-planned out artwork, we’d steer clear. Why? No two gallery walls should ever be the same. Walls curated intentionally with artwork and memories that mean something to you will bring you much more joy and satisfaction than pieces selected by someone else. You’re probably thinking that this is going to take a lot longer to pull together. Well, you’re right! A home for slow living develops slowly over time and evolves with you. The beauty of a gallery wall is that you can add to it, or swap out pieces as you go. It’s an evolving tapestry of what makes you, you.
We spoke to the owners of some of the most beautiful gallery walls on Instagram to bring you tips for planning a gallery wall with intention. Instagram creators and interiors gurus Tess from @pistachio.terrace and Hanna from @ourhebehome share their experience with us.
Walls with intention: how to plan a gallery wall
Step 1: Curate your memories and reflect your personal style, identity and personality
Both Tess from @pistachio.terrace and Hanna from @ourhebehome agree that anything can be art. Tess shares that one of her favourite framed pieces is one of her child’s first onesies: “It reminds me of how big they were when they were born and I love it.” She’s also framed pages from art books, menus from memorable meals and even wrapping paper. Sentimental pieces are also some of Hanna’s most prized artworks. “My grandparents painted a lot and I am so grateful to have some of their work on display, alongside little conceptual pieces that my daughter created,” says Hanna.
Hanna from @ourhebehome also mixes these meaningful pieces with affordable artwork and frames: “I have a mixture on display, some are digital art that I’ve printed (which is a great cost effective option) and others are family pieces handed down.”
For frames, Hanna reminds us to “never underestimate the power of the charity shop”. And we couldn’t agree more here! Taking a slow interiors approach means you can pick up unique artwork and solid wooden frames at great prices, while also supporting a charity and reducing waste.
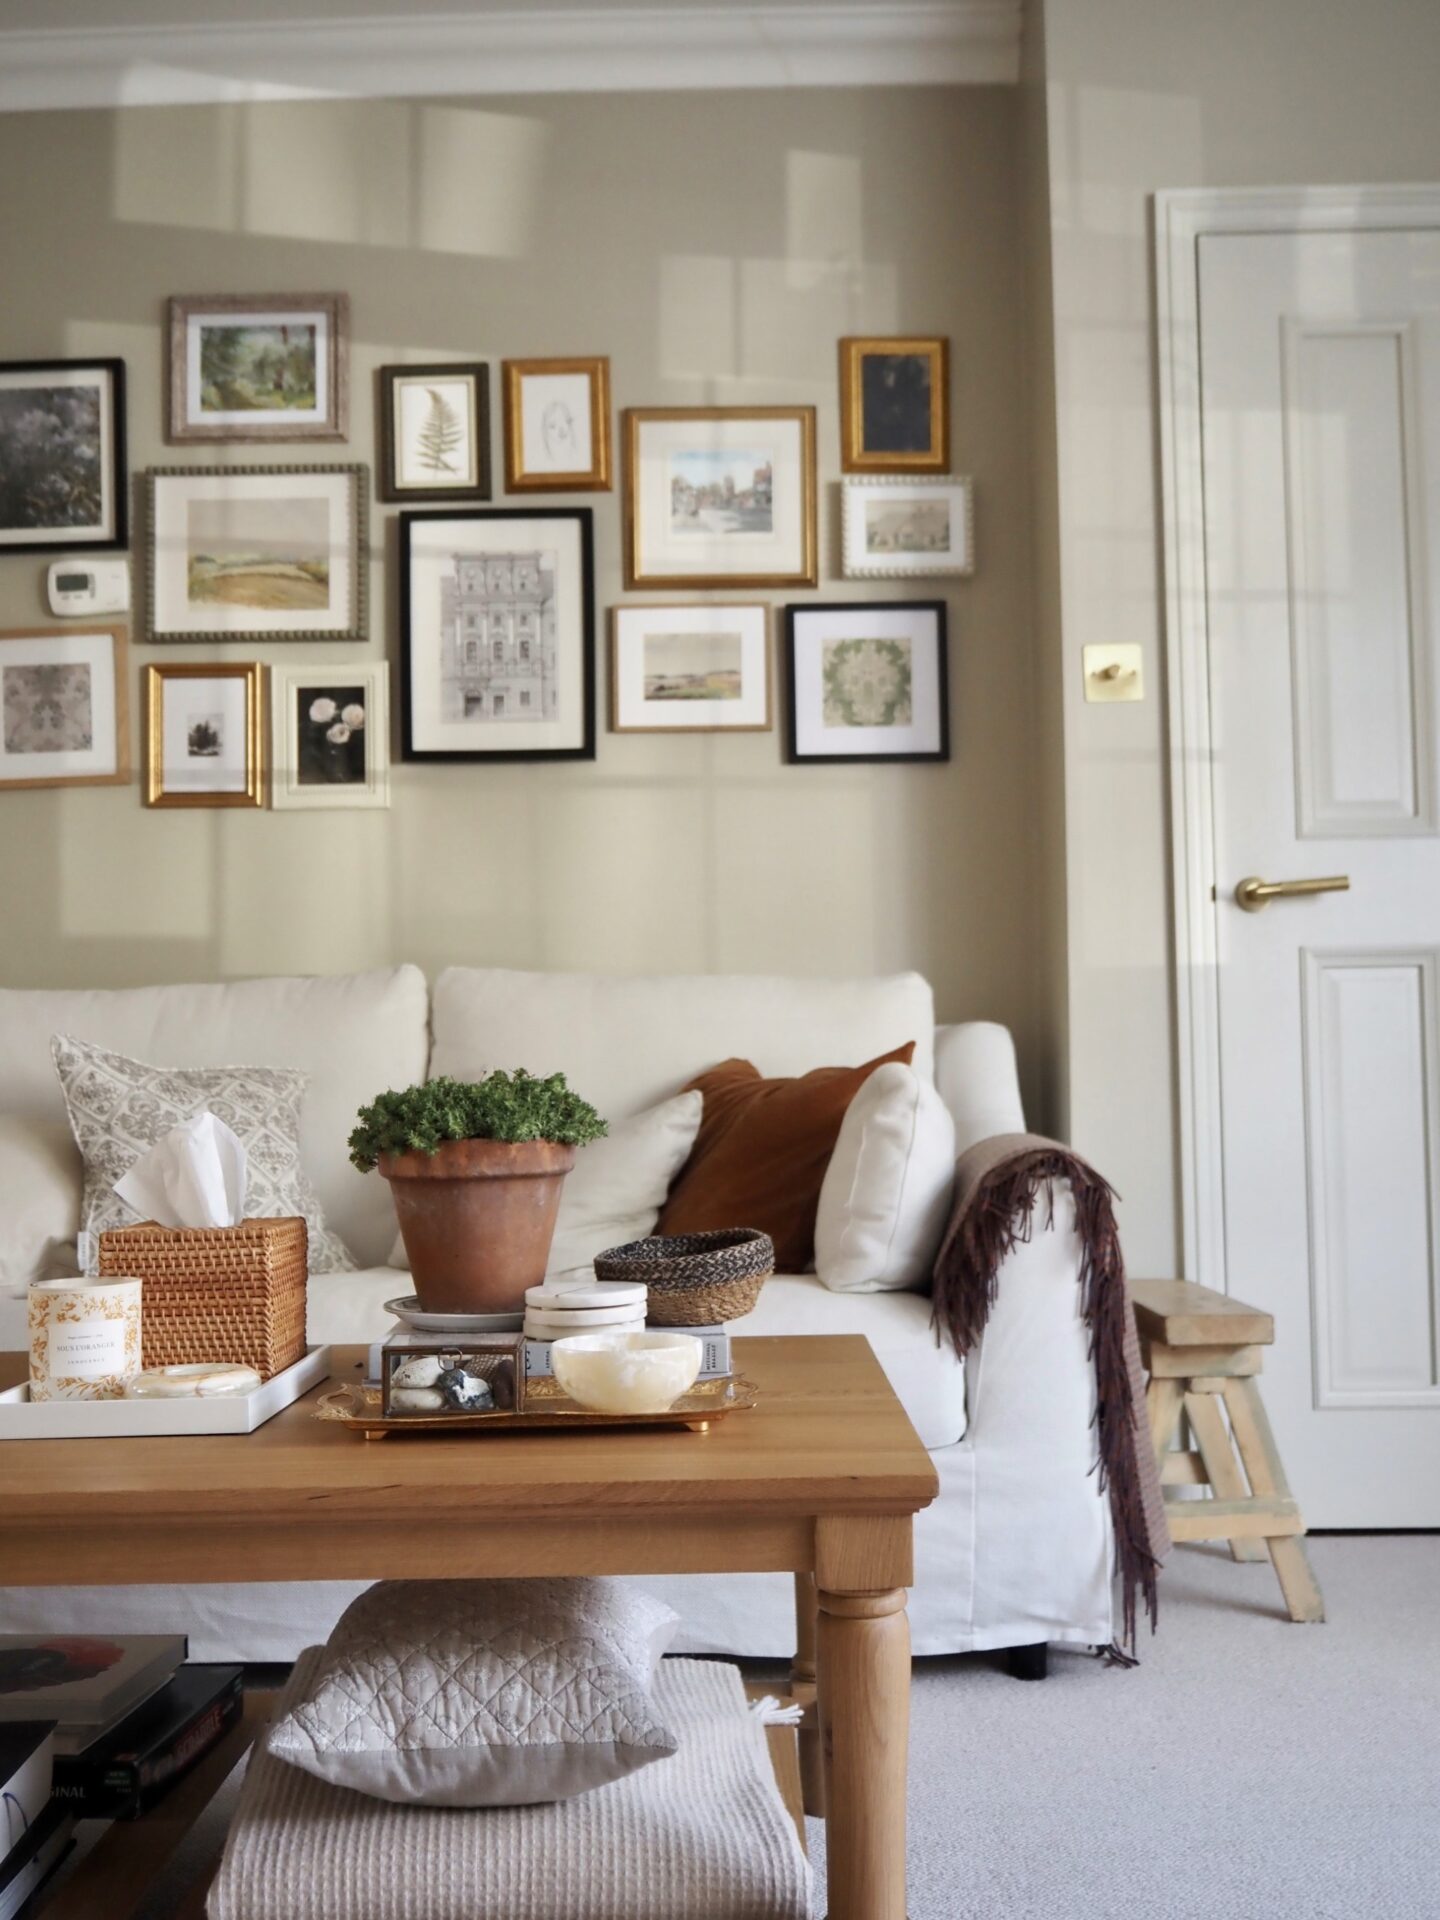
Image credit: @ourhebehome – Hanna’s gallery wall in her living room
Step 2: Plan your gallery wall layout
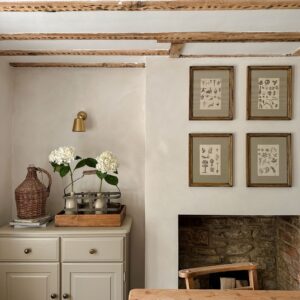
Choose all your frames and mounts. Before planning the layout, frame your artwork to get a sense of the final sizes and styles of each piece in your composition. Elevate non-traditional artwork such as a child’s drawing or a magazine cutting with a beautiful frame and quality mount. Wavy mounts are a subtle way to add softness to an angular composition, too. Hanna from @ourhebehome recommends considering how your layout “balances as an entire composition and use different frames for variation of size, colour and texture“.
Plan your layout. There are generally two approaches when it comes to planning the placement of a gallery wall. Map it out meticulously or well, wing it! Hanna from @ourhebehome knows a thing or two about how to lay out a well-balanced and aesthetically pleasing gallery wall. She recommends getting everything out on the floor: “measure out the wall space you’re working with and replicate it on a flat surface.” This allows Hanna to move around the frames and artwork to find a composition and balance she likes.
“Don’t forget to take a photo for reference so you don’t forget where everything goes!“
Hanna, @ourhebehome
Start with the largest frames or your chosen focal points and aim to hang these at eye level. If you are hanging around furniture or have particularly high or low ceilings, adjust the placement accordingly. Tess from @pistachio.terrace explains, “it’s good to start with what you want your eye to be drawn to the most… I like using larger pieces as the main (focal point) and filling gaps with smaller photographs or framed bar mats.”
“It’s good to start with what you want your eye to be drawn to the most… I like using larger pieces as the main focal point.”
Tess, @pistachio.terrace
Spread out art of the same orientation, frame type and colour. Keep the eye moving seamlessly across the wall by helping the composition flow. That’s unless you have any identical pieces. Hanging these together within the overall layout of the gallery wall can be particularly effective.
Hang with gaps of 3-6 inches between frames. The larger the artwork, the larger the gap. Keeping things consistent will help create a sense of ease across a busy wall. For those wanting to keep things calmer, a gallery wall of uniform sized artwork in a grid formation may be preferred over a more random layout. A laser spirit level can help you check each frame is straight.
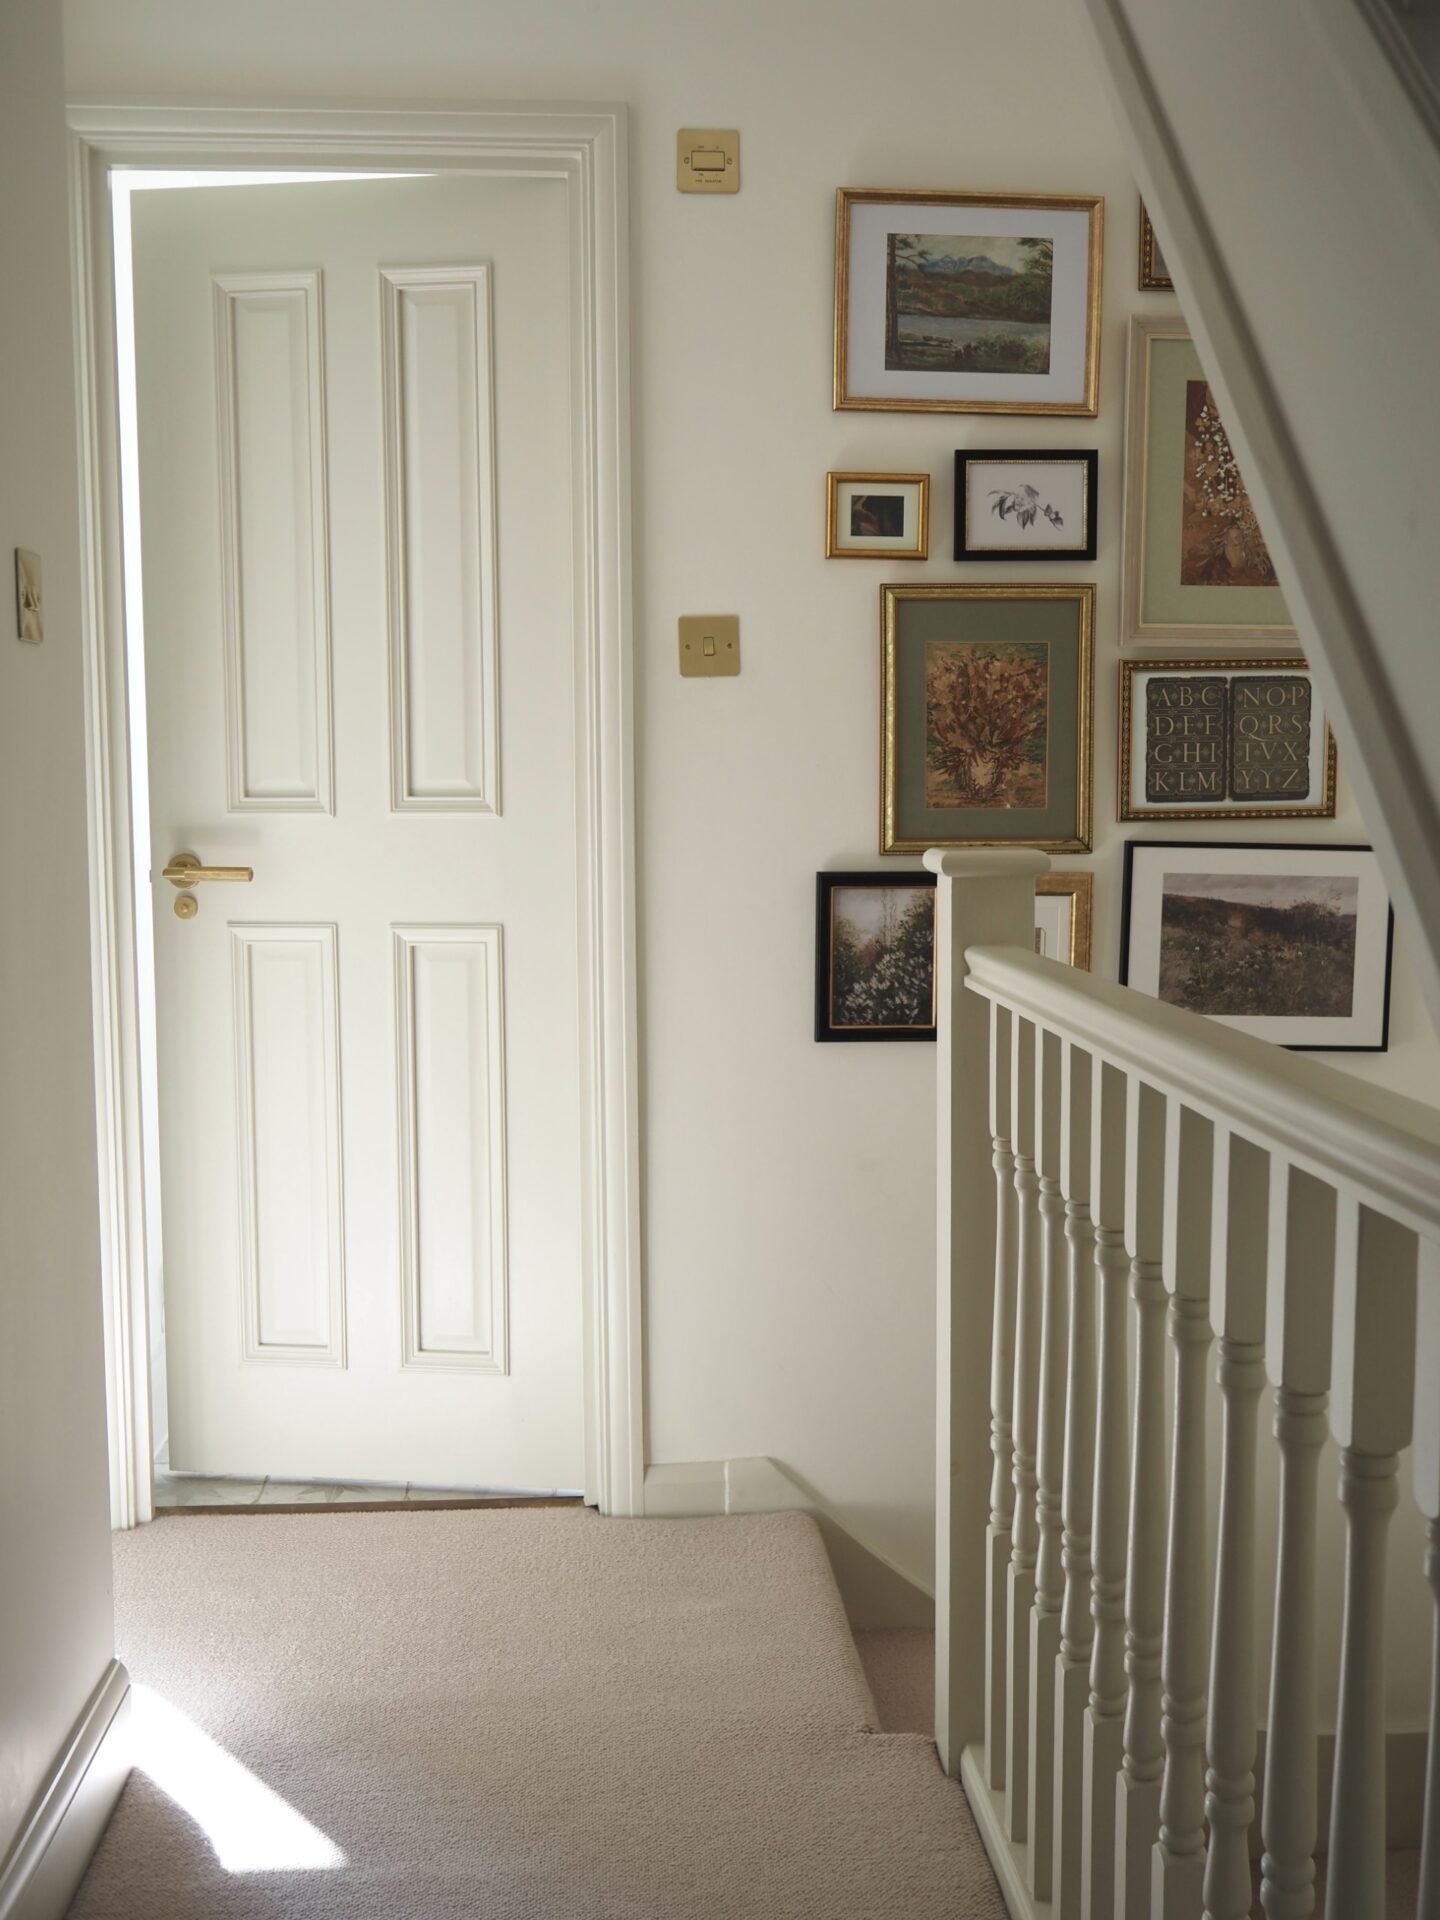
Image credit: @ourhebehome – Hanna’s gallery wall on her landing
Mix curated finds with investment pieces. Tess from @pistachio.terrace believes that an impactful gallery wall is one of variety. In other words, she encourages us to “put your framed bar mats next to your more expensive pieces“. Mixing high and low adds interest.
Step 3: Develop and tweak your gallery wall slowly over time
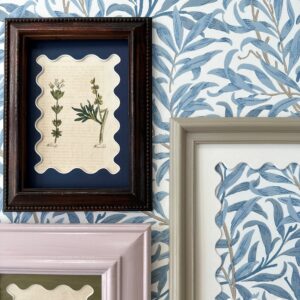
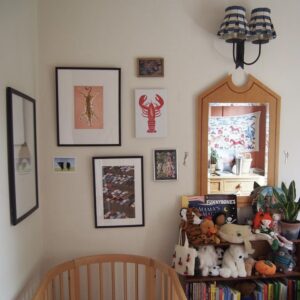
Image credit: Left. Slow Living LDN. wavy mounts. Right @pistachio.terrace – Tess’ gallery wall in her daughter’s bedroom
Choosing and collecting what to display takes time, too. Hanna from @ourhebehome admits that the gallery wall on her landing “took years to come to fruition“, but now she adores it. She advises not to rush into creating a gallery wall. “Take time to gather pieces that you love to look at, or mean something,” Hanna explains.
Unless you’re taking a uniform approach to your gallery wall with equally spaced and equally sized artworks that form a single collection, a gallery wall can develop over time. Continue to add to the fringes or swap in new discoveries as you find them. Making a few small tweaks can be a great to way to style with the seasons or update your spaces relatively easily. Hanna has a few frames filled with printable art that she switches with the seasons.
A home for slow living isn’t complete without filling your walls with meaning. For more inspiration, you can keep up to date with Tess and Hanna’s beautiful homes on Instagram – @pistachio.terrace and @ourhebehome. Or, visit our gallery wall Pinterest board.
Still curating your gallery wall?
Wavy mounts add subtle intrigue to your favourite artwork. Just like Tess and Hanna, we believe you can frame anything with the right mount. Why not add extra interest to a prized art print, a child’s first drawing, a special photograph, a pressed flower, a vintage bookplate or even a wallpaper sample?